City of Jerusalem
Three groups of us gathered on August 14 at St. Andrew's Episcopal church in Ayer, Mass., to create our own Jerusalem in 3-D. We all had our walls, buildings and other items, as well as a control. Our atrium has been using our control as the mute for years, keeping the walls and stuff in a basket. It's made from two pieces of foam core glued together - the top piece has the spaces for the walls, buildings, etc. cut out with an Xacto knife and the bottom piece has the building spaces painted, so when you glue them together, it has a bit of a 3-D effect, but no topography.
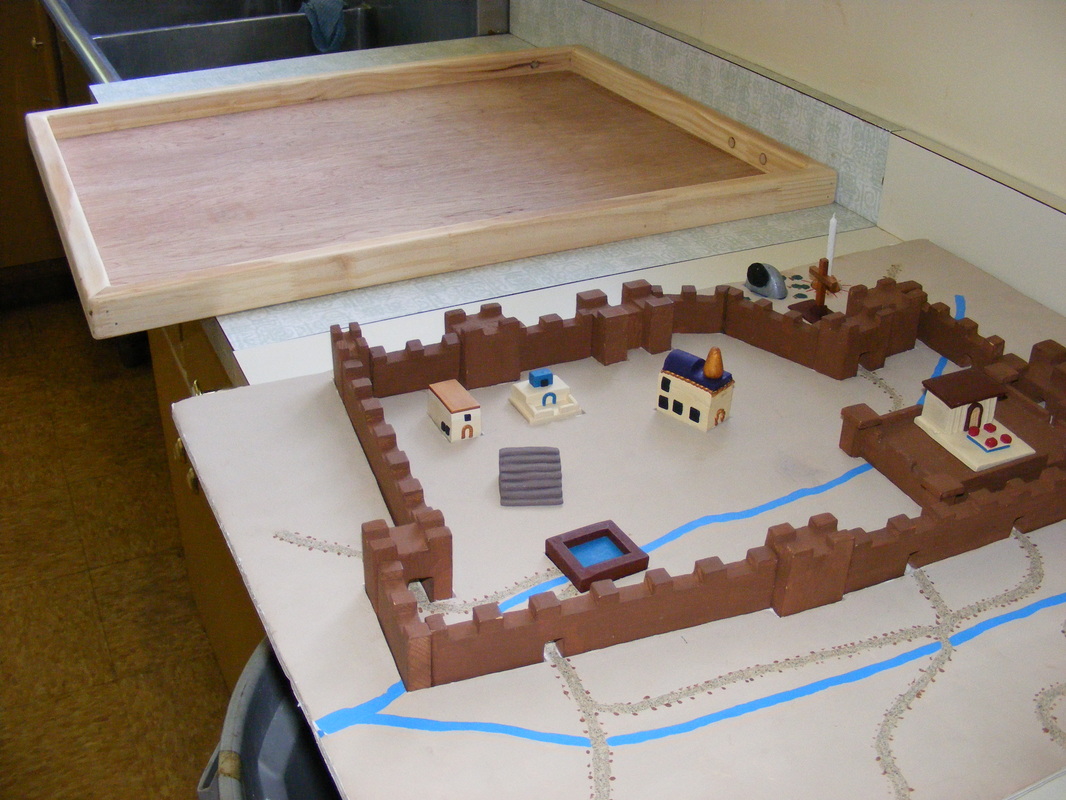
The groups also brought sculpting material - two of us had Celluclay brand and one had the recommended Sculpt-a-mold. Not sure it made any difference in the end. What DID make a difference is the amount of water I added to the dry mix. I ended up using almost two 5-lb. bags. The first batch I mixed up was a nice consistency - smooth, slightly sticky, but not messy. I spread it out on my board that my husband had built. (Picture 1) When he put it together for me, I thought he had spent way too much time. It's very nice, heavy-duty. "I won't need it to be that fancy," I told him. "I was just going to glue the edges on." Boy, would that have been a mistake, as it turns out!
The groups also brought sculpting material - two of us had Celluclay brand and one had the recommended Sculpt-a-mold. Not sure it made any difference in the end. What DID make a difference is the amount of water I added to the dry mix. I ended up using almost two 5-lb. bags. The first batch I mixed up was a nice consistency - smooth, slightly sticky, but not messy. I spread it out on my board that my husband had built. (Picture 1) When he put it together for me, I thought he had spent way too much time. It's very nice, heavy-duty. "I won't need it to be that fancy," I told him. "I was just going to glue the edges on." Boy, would that have been a mistake, as it turns out!
PICTURE 1
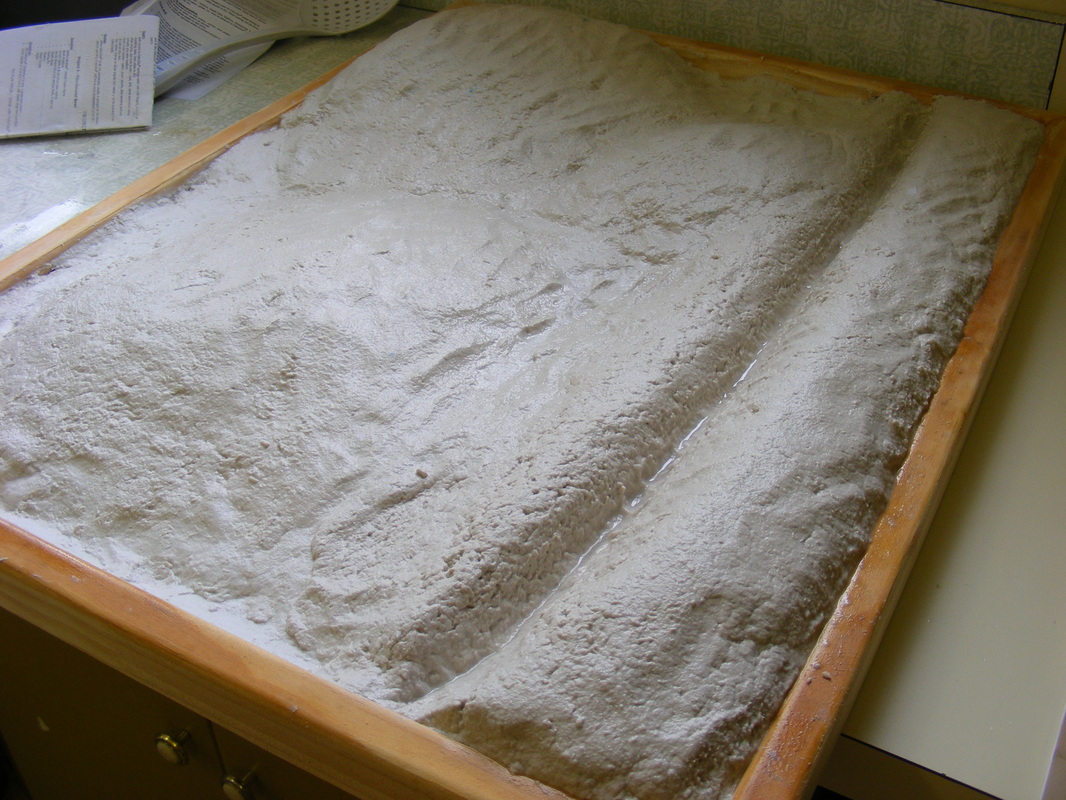
The second batch of clay was dense and rough, sort of like cottage cheese. Had I added too much water or did I just not knead the mixture and incorporate the water quickly enough? Who knows. But when I put that stuff on and started to build up the hilly areas, I realized I was in trouble. (Picture 2) Water started to pool everywhere, especially the river. Ironic, right? I began to try to soak up the water with paper towels. What a mess!
PICTURE 2
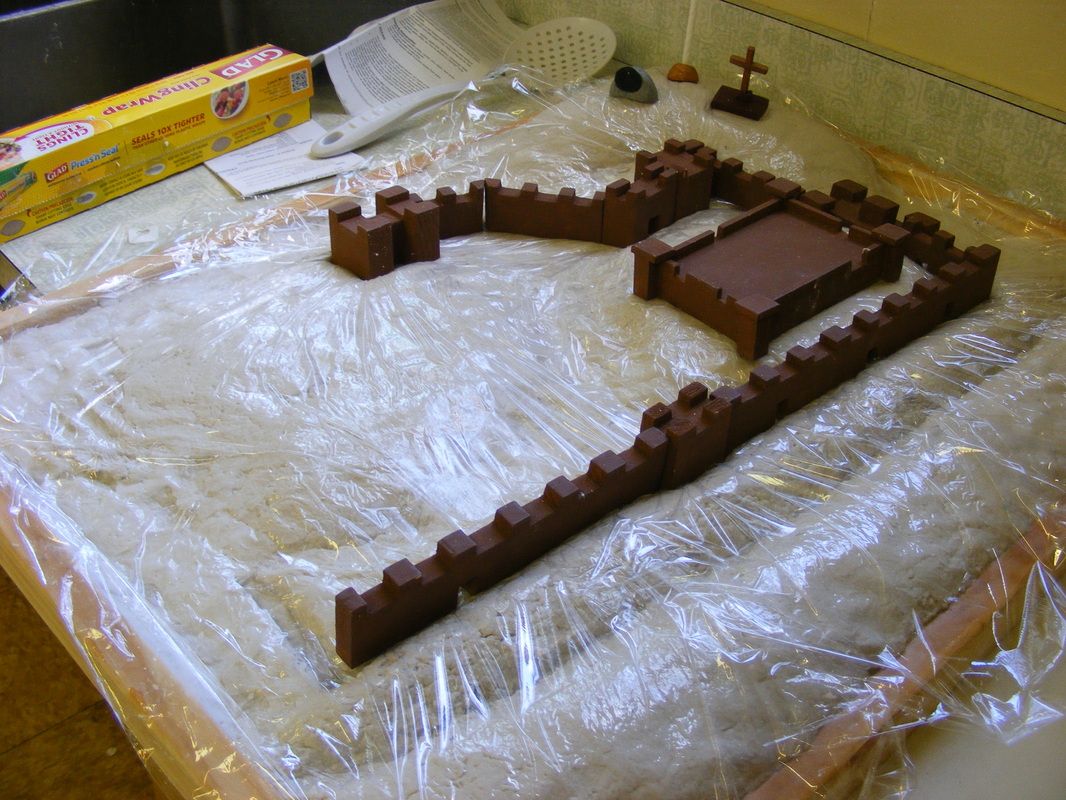
Eventually I started to place my buildings. I put a layer of plastic wrap over the clay and began to press in my walls and buildings (Picture 3). However, the water was pooling in those spaces, too. It started to seep between where the edges of plastic wrap overlapped and soon my wooden wall pieces were wet. Plus, when I took the pieces out, the clay started to settle in and fill the indentations. I seriously considered abandoning the thing as a lost cause, but decided that I would just chalk it all up to a learning experience. And Celluclay is not cheap.
PICTURE 3
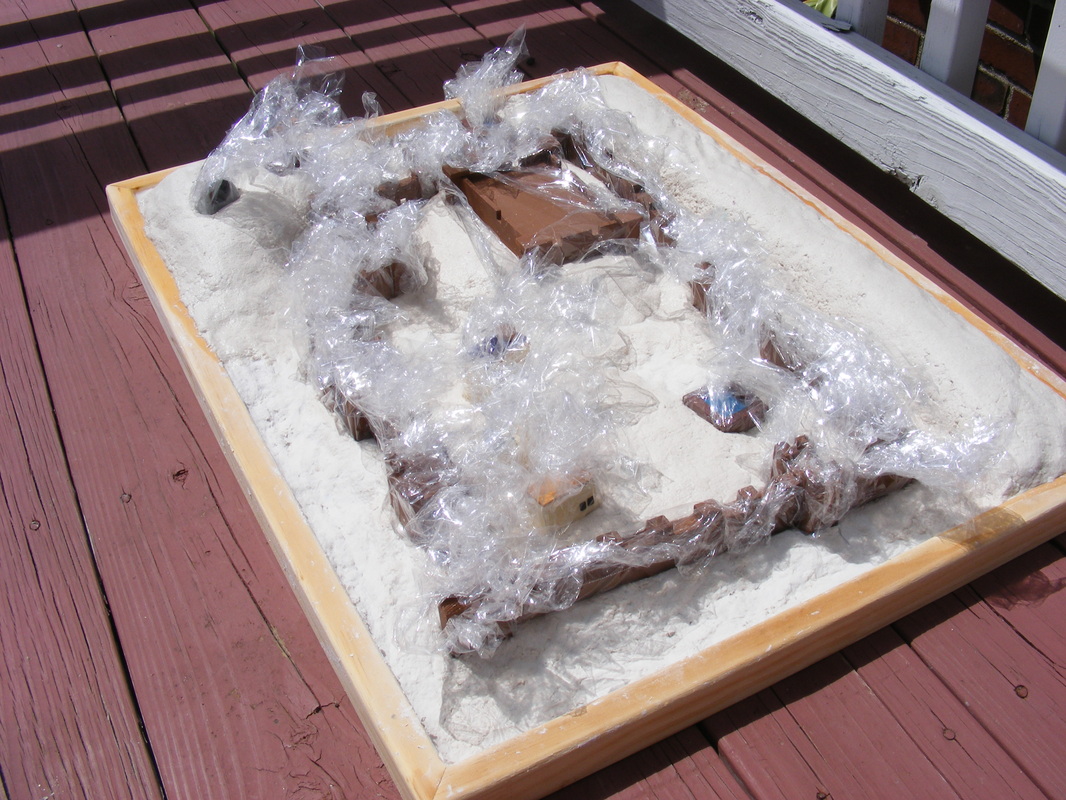
Before I went to the workshop, I had downloaded directions from the online materials manual and thought maybe I'd incorporate one of the steps from those. So I wrapped each wall and building piece in its own plastic wrap and pressed them in, all the while soaking with paper towels. It was a warm, sunny day outside, so I lugged my water-logged city out to dry on the sidewalk while I cleaned up. (Picture 4)
The other folks at the workshop didn't seem to have encountered the problems that I had. It appeared their cities were setting up nicely as we packed up. Meanwhile, my adventure was not over.
The other folks at the workshop didn't seem to have encountered the problems that I had. It appeared their cities were setting up nicely as we packed up. Meanwhile, my adventure was not over.
PICTURE 4
The city comes home...
...and begins to mold! Yep, no big surprise. For a couple days I put the thing out in the sun, hoping to at least slow the spread of mold and speed drying. Wasn't enough. My husband set up a space heater and we propped the city in front of it. That helped a lot. Should have done that right off the bat, but "live and learn."
Imagine, too, if I had only glued on the edges instead of having them attached with nails. They would have popped off from the moisture.
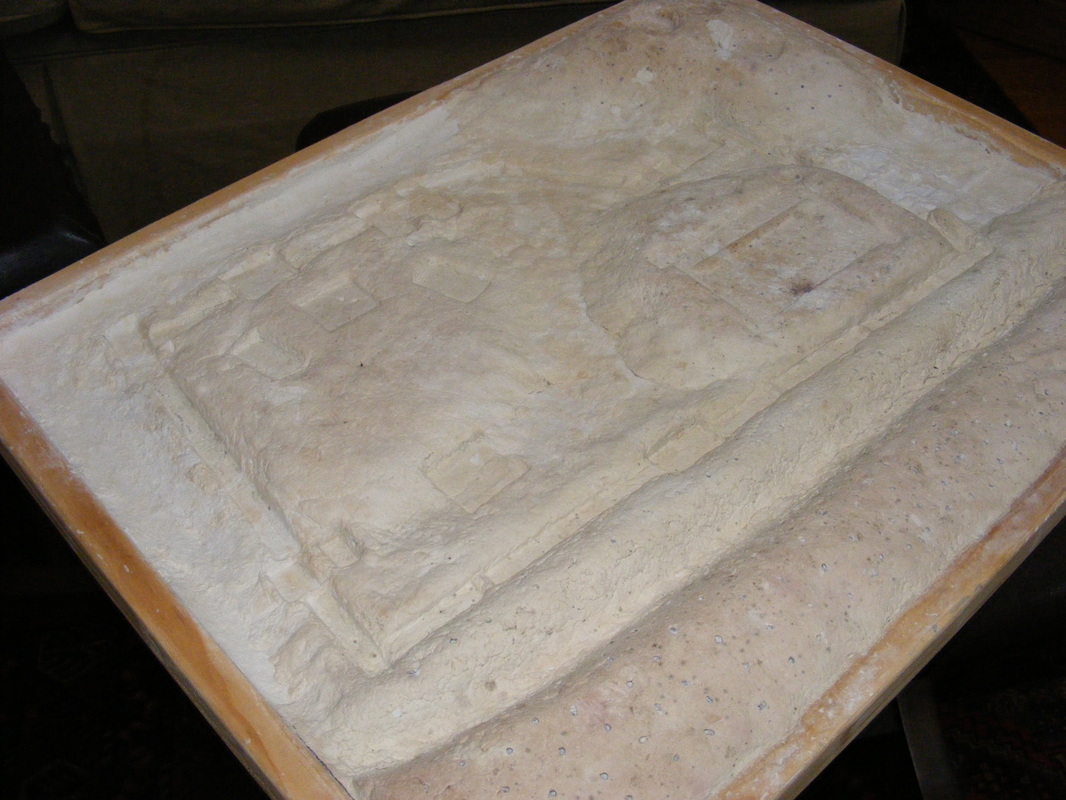
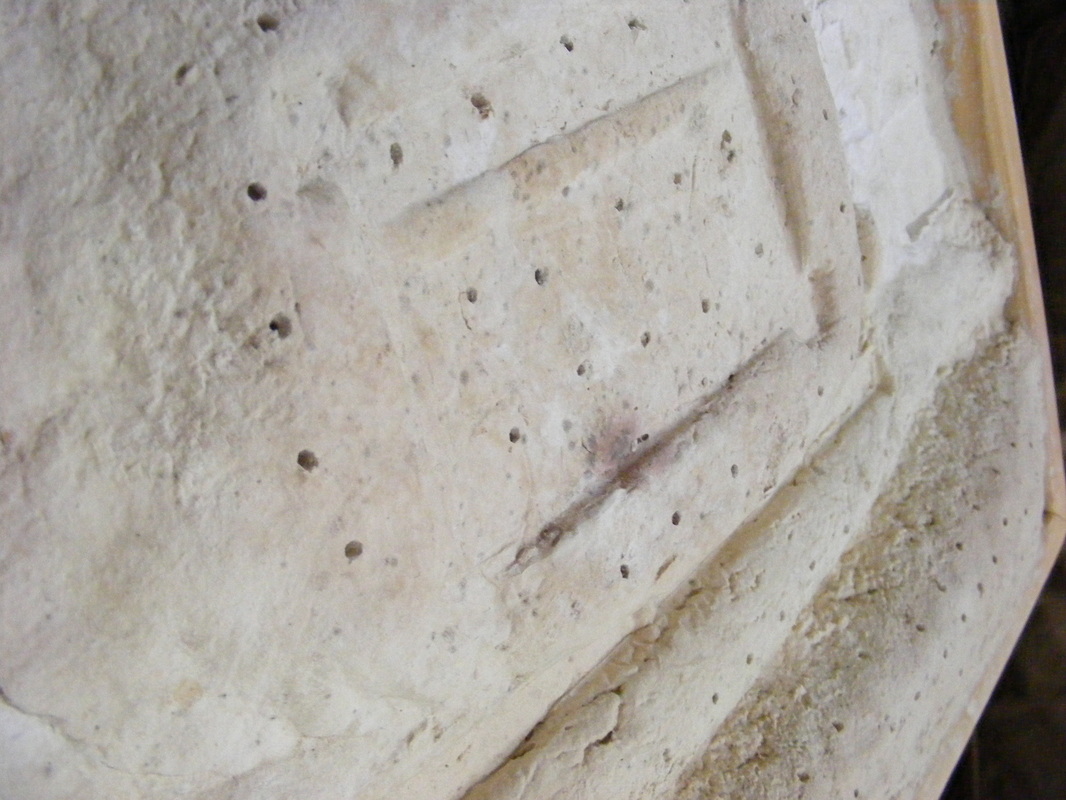
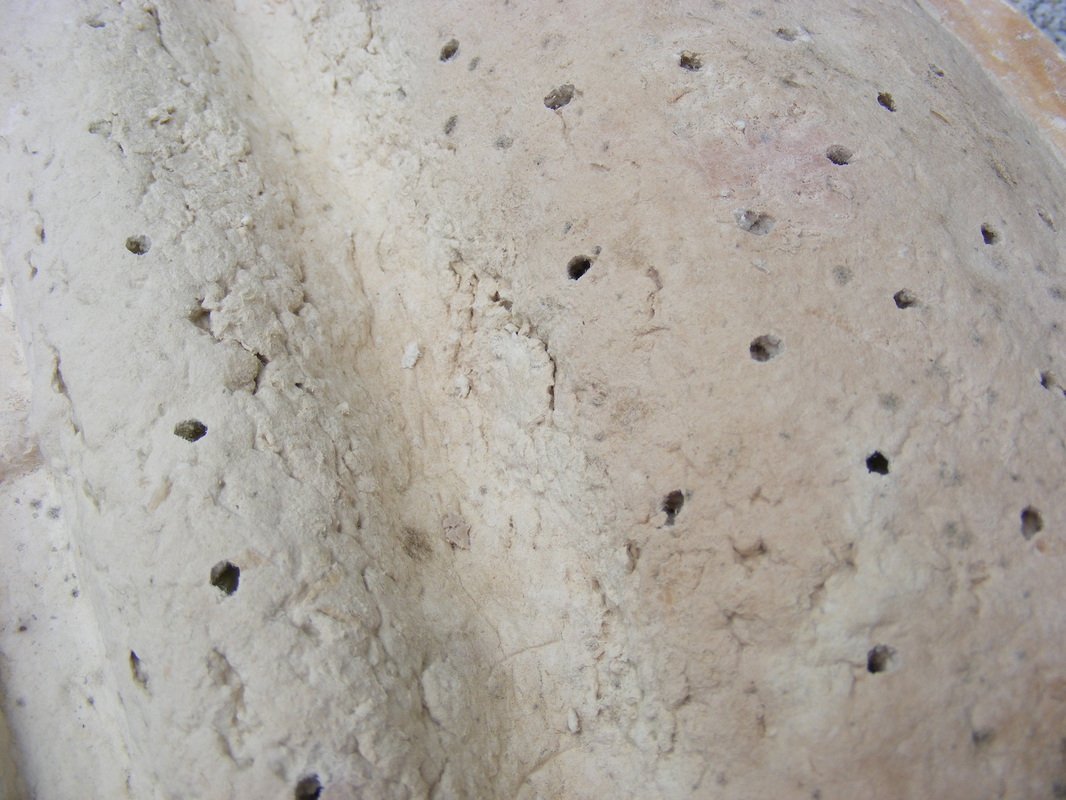
The pictures below were taken today, a little over two weeks since the workshop. The second and third photos really show the mold. And you can also see the holes my husband poked trying to open up the hills to the heat and air. But the river is still damp, as are some of the indentations, so I'd say it's got another couple weeks before I'd feel safe painting it.
Imagine, too, if I had only glued on the edges instead of having them attached with nails. They would have popped off from the moisture.
The pictures below were taken today, a little over two weeks since the workshop. The second and third photos really show the mold. And you can also see the holes my husband poked trying to open up the hills to the heat and air. But the river is still damp, as are some of the indentations, so I'd say it's got another couple weeks before I'd feel safe painting it.
Next steps
After I'm satisfied that it's completely dry, [Joyce think by mid-winter! :-) ] I'm going to patch the holes. I found online a recipe for homemade paper mache clay that I hope to use as a sort of spackling. I'll spread it on thinly so it dries quickly and hope that the mold doesn't come through. Even if it doesn't, I'm going to paint on a layer of Kilz primer before I paint with color. That's what Joyce recommends.
Luckily, the clay didn't shrink too much as it dried so my buildings and walls still fit nicely in their indentations. And I'll need to drill a hole on Golgotha for a candle, but I can drill a larger hole and use a larger, longer-burning candle...bonus. So this just might be useable if the mold doesn't return. It's really heavy, though, so my next task will be finding a semi-permanent place for it in the atrium. It's always a learning experience, isn't it?
Luckily, the clay didn't shrink too much as it dried so my buildings and walls still fit nicely in their indentations. And I'll need to drill a hole on Golgotha for a candle, but I can drill a larger hole and use a larger, longer-burning candle...bonus. So this just might be useable if the mold doesn't return. It's really heavy, though, so my next task will be finding a semi-permanent place for it in the atrium. It's always a learning experience, isn't it?
